To get an OpenAI API key, follow the instructions below:
Start by visiting the OpenAI website at https://platform.openai.com/signup?launch where you need to create an account. Enter your email address and choose a secure password. Alternatively, you may have the option to sign in with your existing Google, GitHub or other account.
After signing up, you may be asked to verify your email address by clicking on a verification link sent to your inbox. Follow the provided instructions to complete the verification process.
Once your account is verified, you will be prompted to log in. Enter your credentials and log in to your OpenAI account.
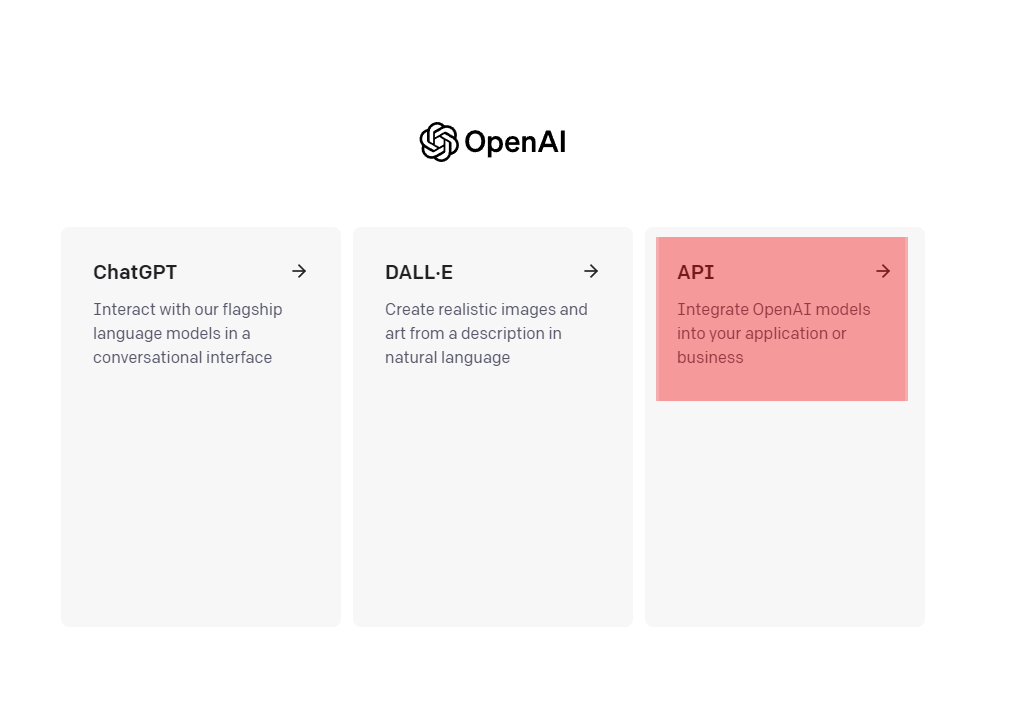
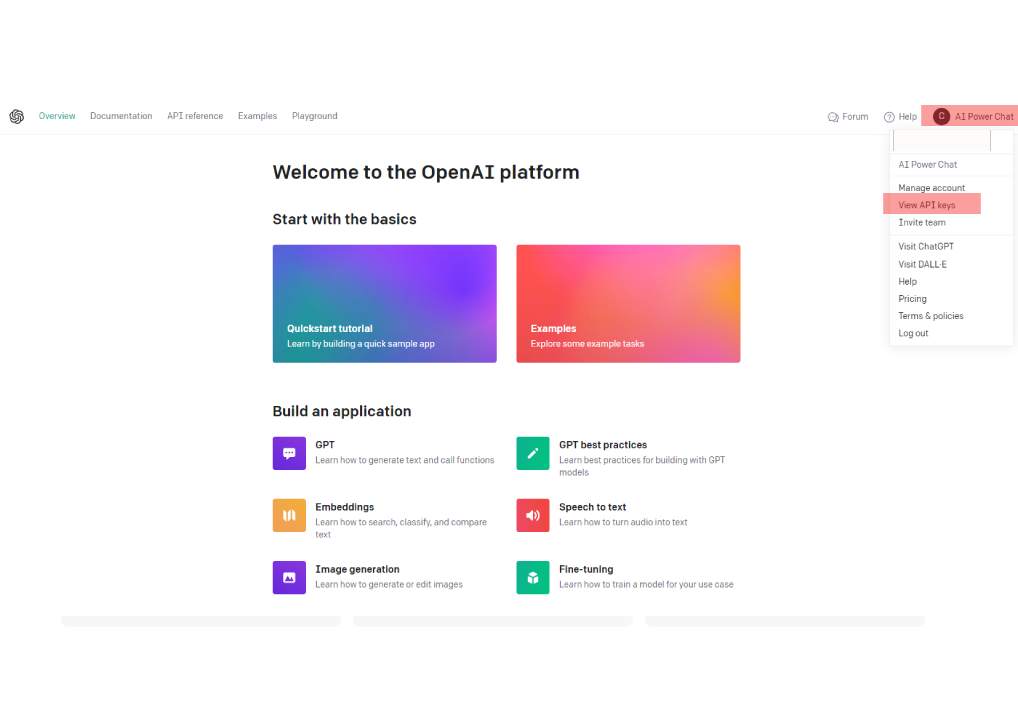
This should take you to your OpenAI dashboard. Click the dropdown menu in the top right then choose the “View API Keys” option.
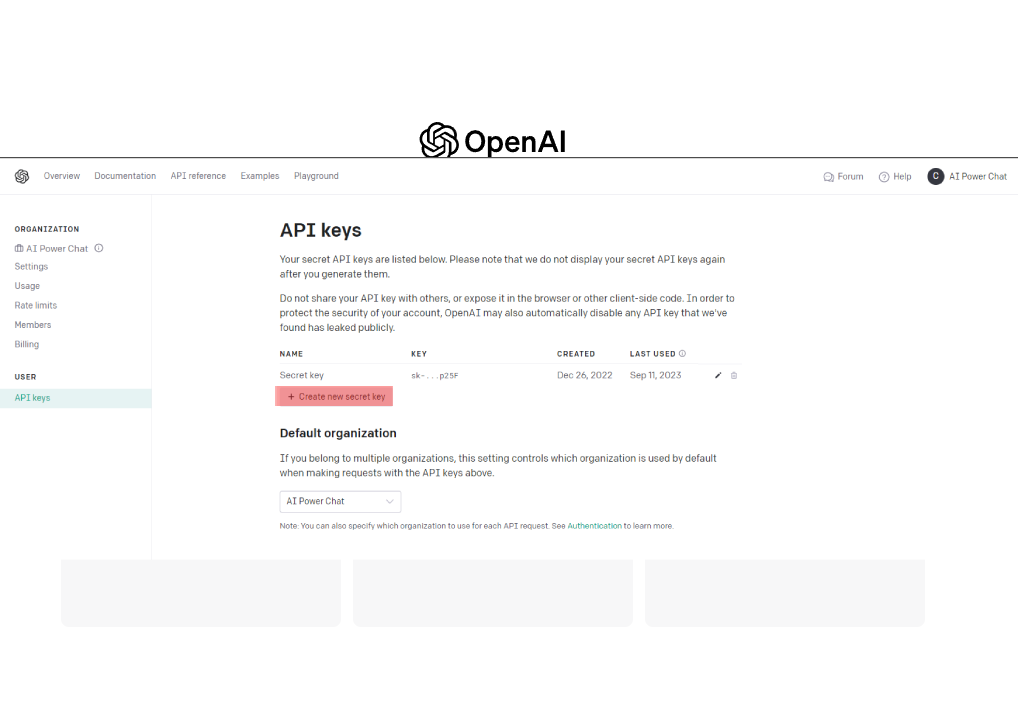
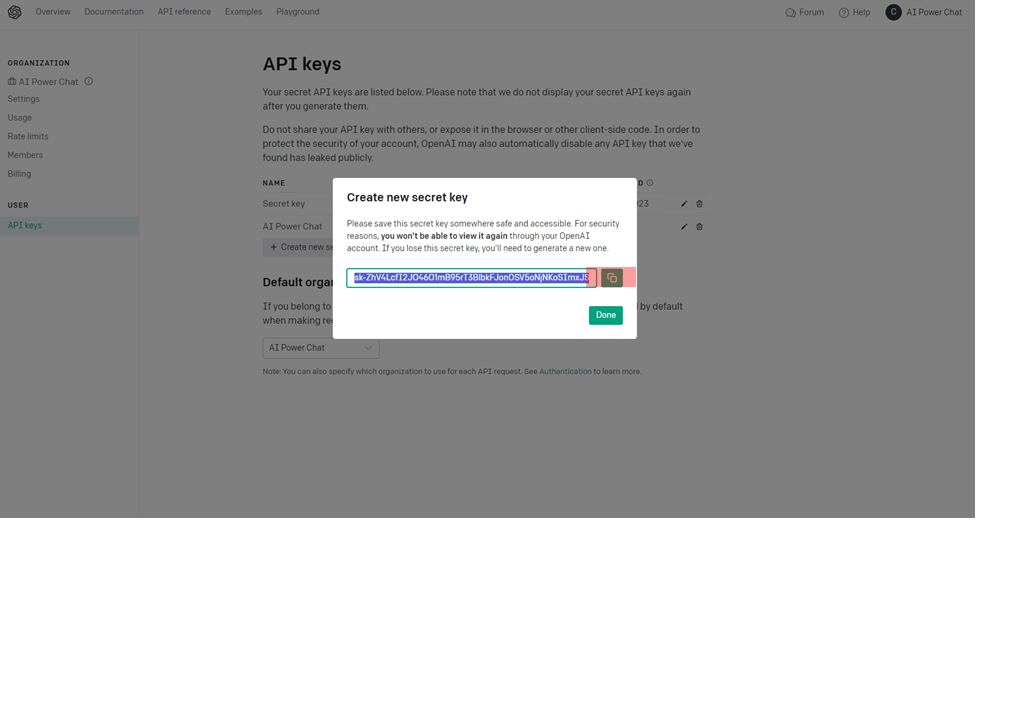
Click on the “Create new secret key” button.
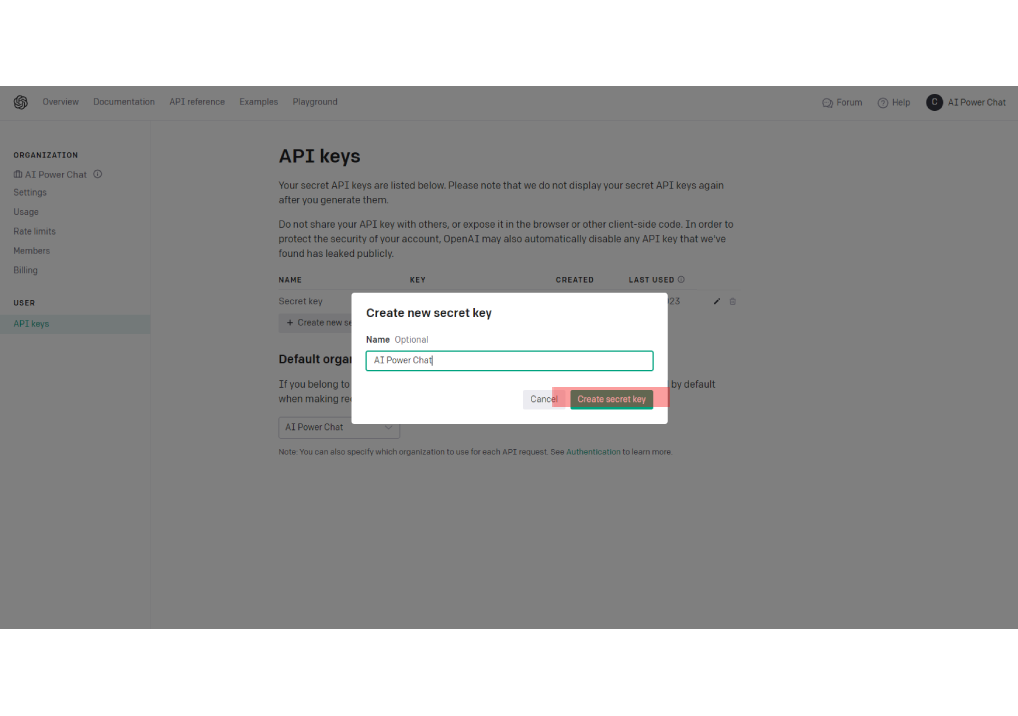
Enter your new name then click “Create secret key.”
Once you have your API key, ensure you store it securely. It will grant you access to OpenAI's API services. This is what you need to enter in your AI Power Chst settings.
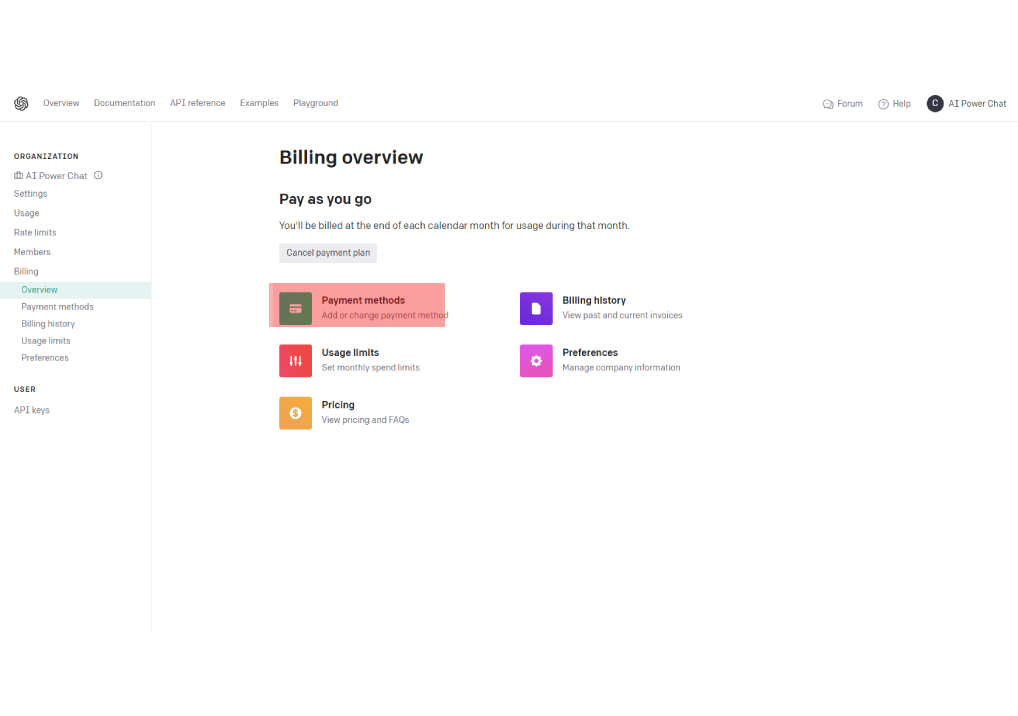
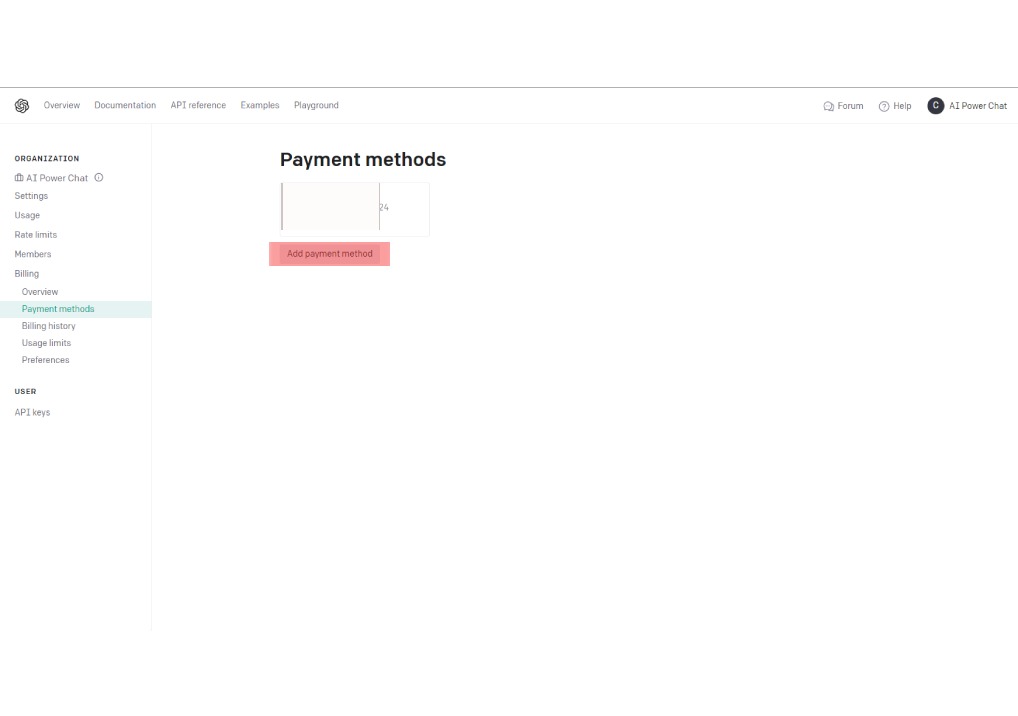
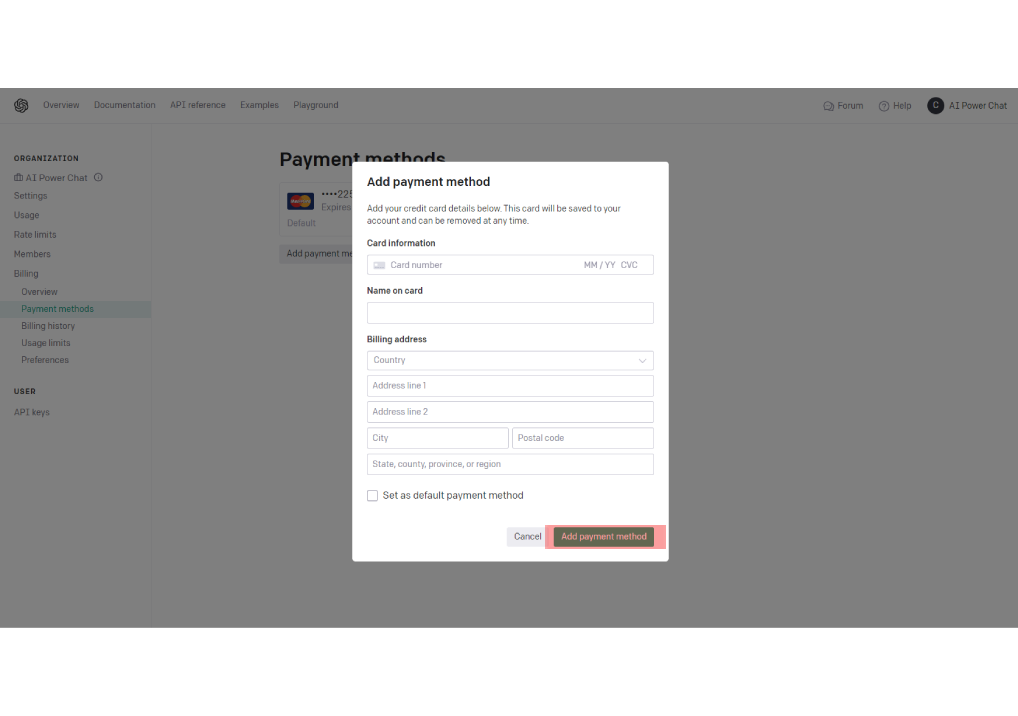
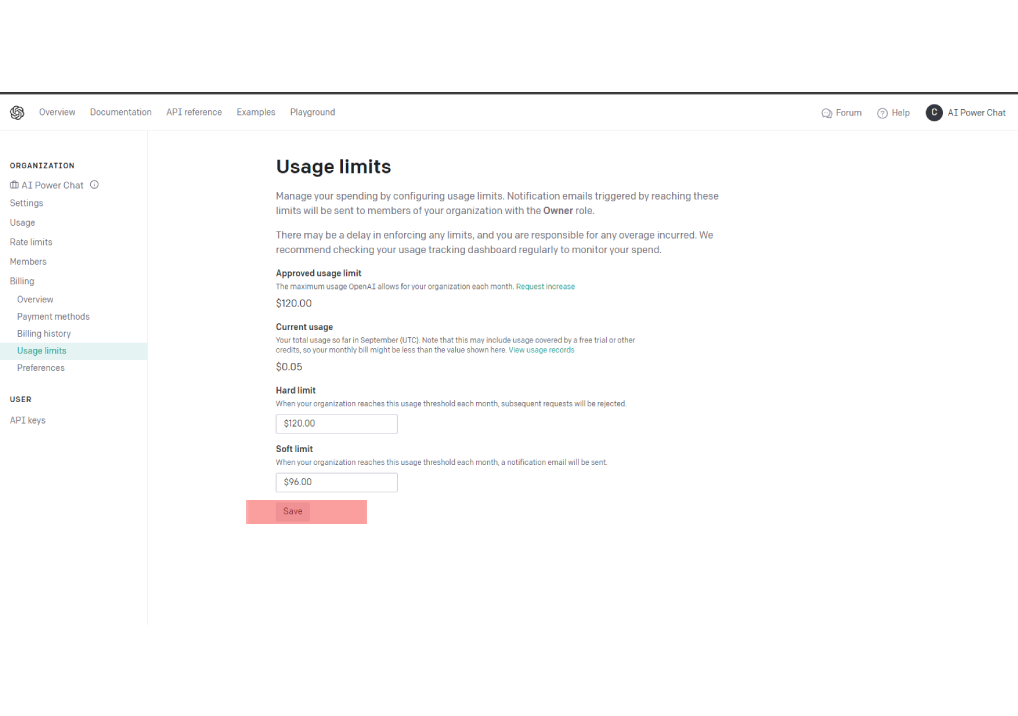
You must have valid billing information associated with your account for your OpenAI API key to work.